Buckle-up guys – today’s post is going to be a long one! But I promise it’s very exciting – so don’t leave, K?
One of my lovely friends What’s App’d me and suggested I try reviewing Primark makeup, and I couldn’t resist the idea. Not only had I never tried it, but my new office is two minutes away from one of the largest Primarks I’ve EVER SEEN. On top of that, if it’s decent stuff, I might save myself a bob or two.
I visited my local Primark with the intention of buying enough makeup to do a full face. However, because it was extremely stressful in there (at one point I thought I’d have to fight a girl for the last Porcelain foundation), I accidentally forgot to buy blusher and any sort of eyebrow product. So you might wanna chuck on a quid each for those!
Finally I’d like to add a disclaimer that I’m simply reviewing how these products worked for ME – if I rubbish any products you use and love, please don’t take it personally!
Let’s get stuck in.
What did I buy?
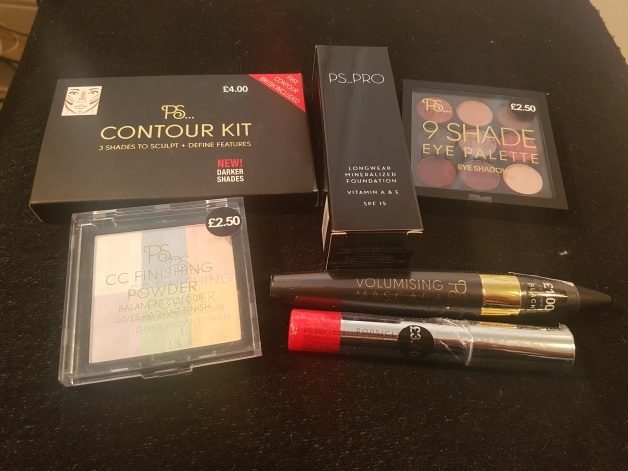
- Contour kit (containing a contour shade, a bronzer shade and a ‘highlight’ shade) – £4
- PS_Pro Longwear Mineralized Foundation with SPF15 in shade ‘Porcelain’ – £5
- 9 shade eye palette – £2.50
- Colour Correcting Finishing Powder – £2.50
- Volumising mascara in black – £1
- Lip Crayon in a sort of red colour – £3
For full disclosure – there were cheaper foundations in the collection (around £2.50), but I went for this one because I always say that base is the most important step of my makeup look. There were also cheaper lip colours for around £1, but none of them floated my boat.
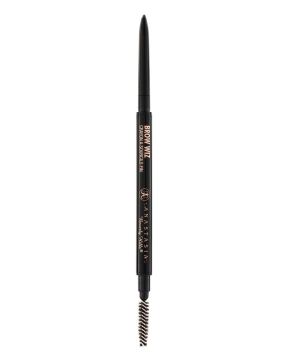
Just for a quick idea of value-for-money, the cost of this whole set of makeup would buy me one Anastasia Beverly Hills Brow Wiz pencil (and this isn’t even top-shelf makeup!)
Trying the makeup
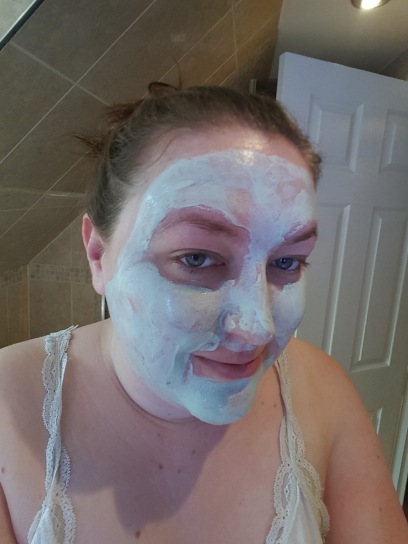
Before we get started, Keith and I decided to do Garnier Moisture Bomb Tissue Masks for fun. These are 99p each and I’ve been seeing ads for them ALL OVER my Instagram.
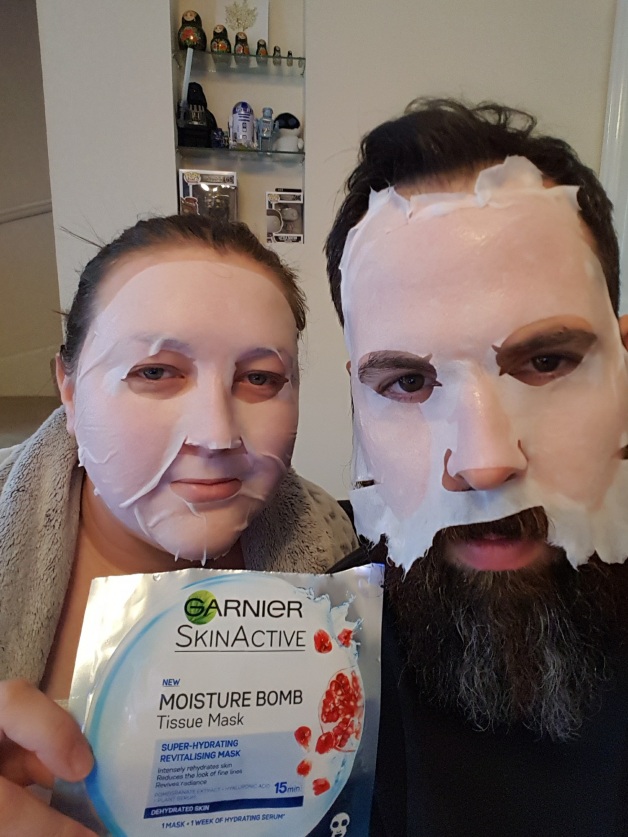
Keith had to ‘amend’ his mask manually for less beard coverage
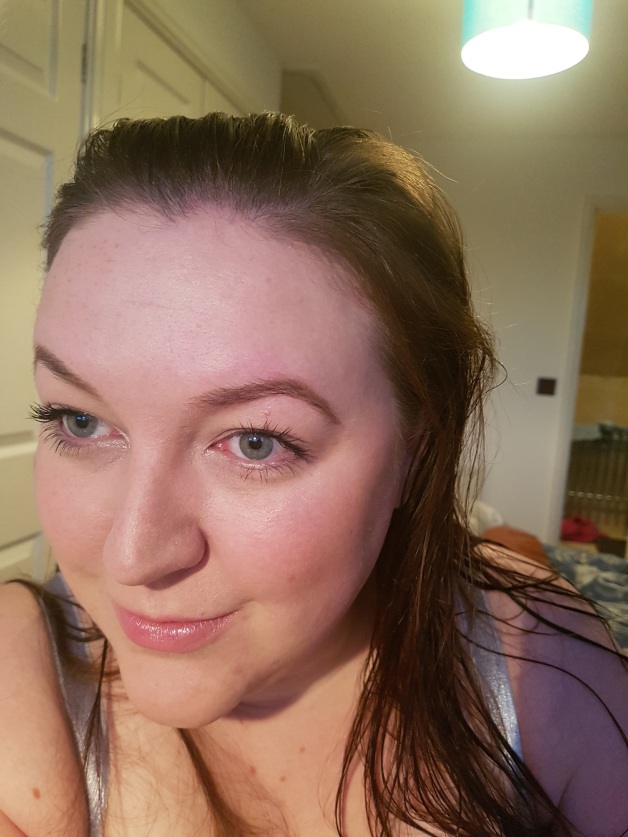
These masks were nice and very, very cooling (not ideal on a winter’s day!). My skin felt moisturised but not greasy, and my makeup went on nicely afterwards. I didn’t look too different (I always notice a real difference after using my L’Oreal clay mask), but these are a bit of fun.
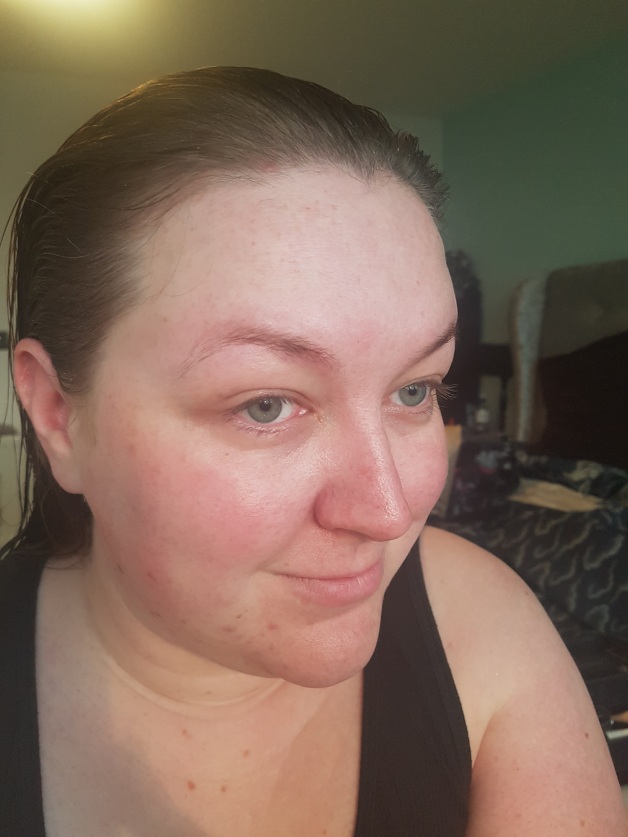
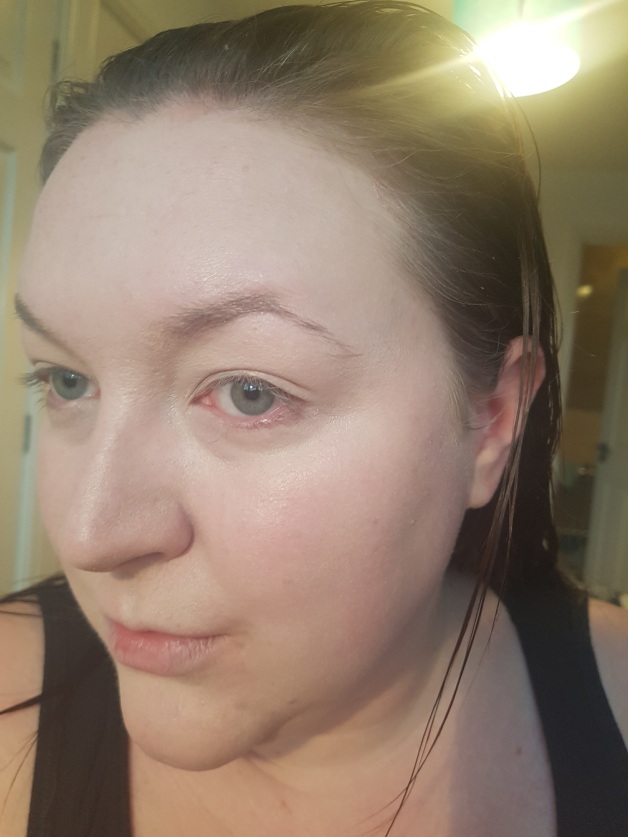
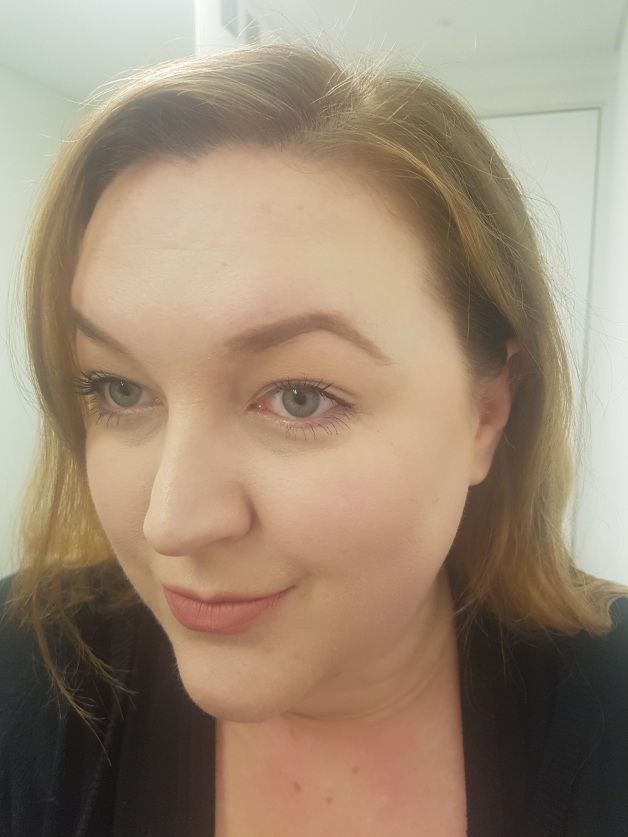
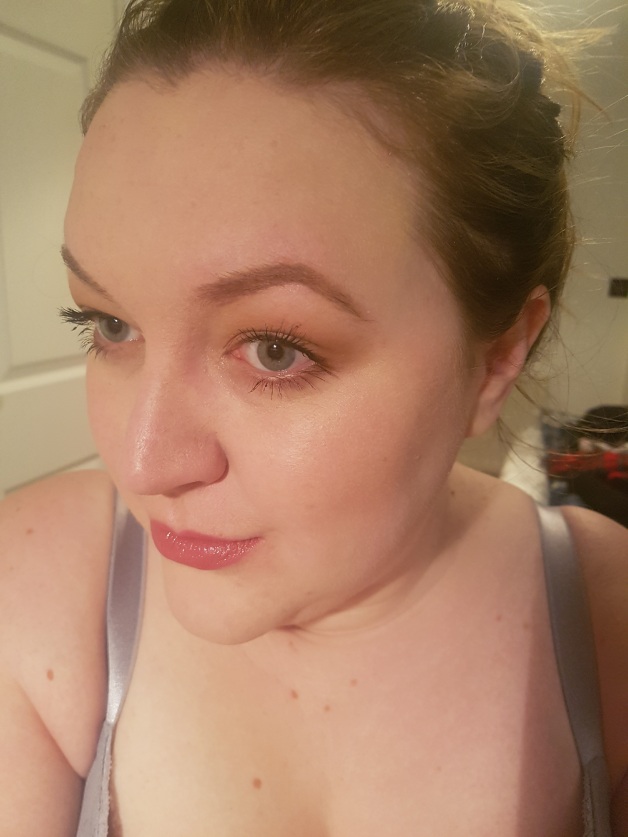
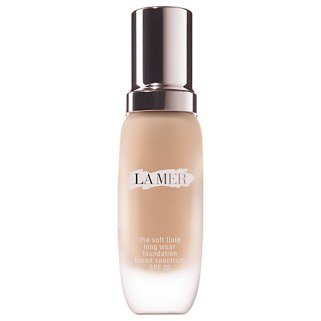
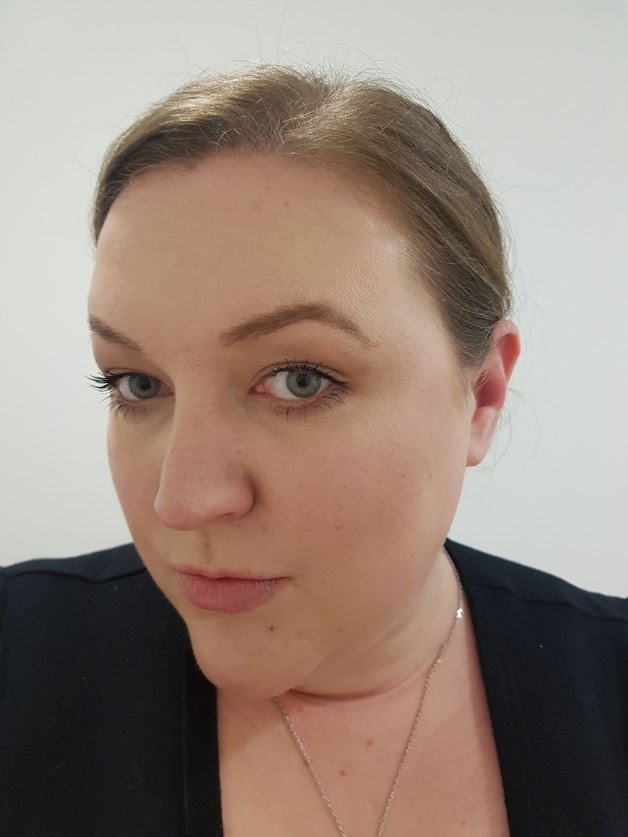
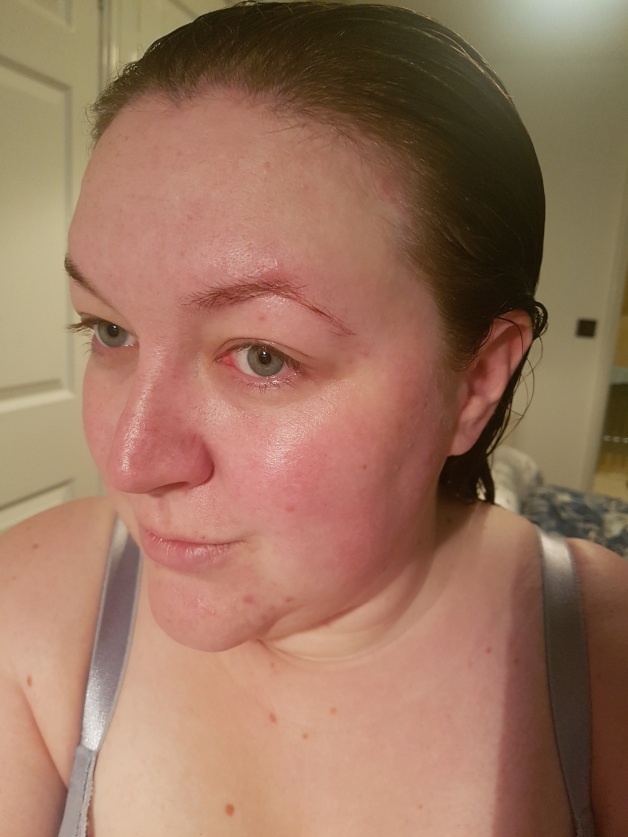
Before
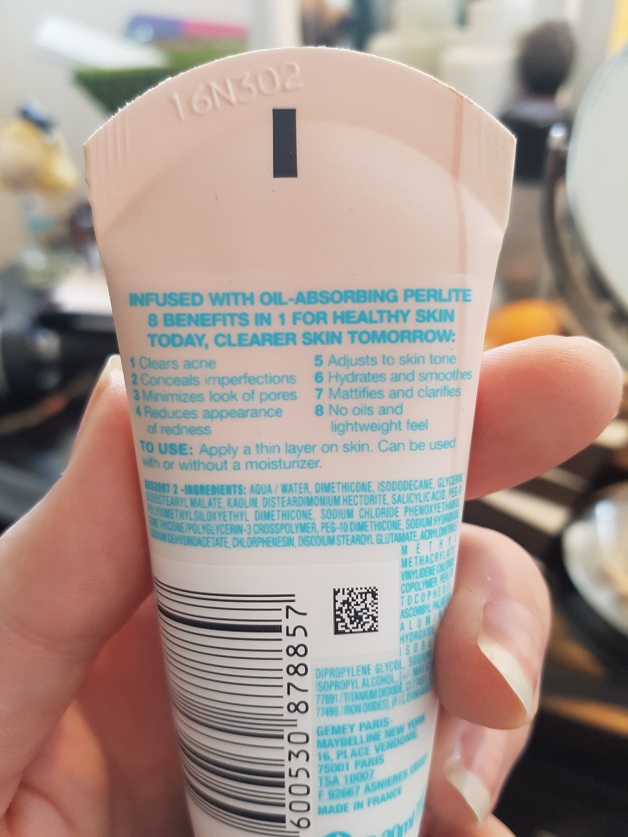
The PS_Pro Longwear Mineralized Foundation with SPF15 – £5
I was impressed with the packaging of this foundation – the box was nice, the bottle feels sturdy and it comes with a pump. Not bad going! In the right-hand picture I put the foundation on my hand and turned it upside down. It didn’t budge an inch, so this is one thick formula. For this reason, I applied it using a foundation brush instead of a sponge.
My first impressions are:
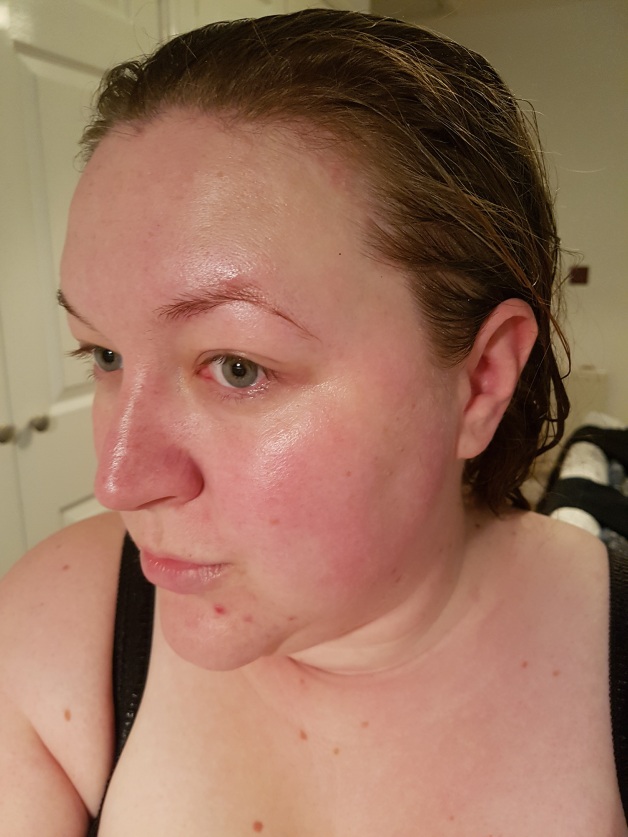
- Woah – this is super-pale!
- Woah – this has super-high coverage!
- Woah – this has a really nice finish! (Fairly dewy, not really matte).
- I had to work quite hard to blend this into my skin – it’s a very thick formula and requires some elbow-grease.
So my first impressions were actually really good, and if anything, the shade was a little TOO pale for me (very unusual!). I *believe* this only comes in three shades. Don’t get too excited though – check in later for final thoughts.
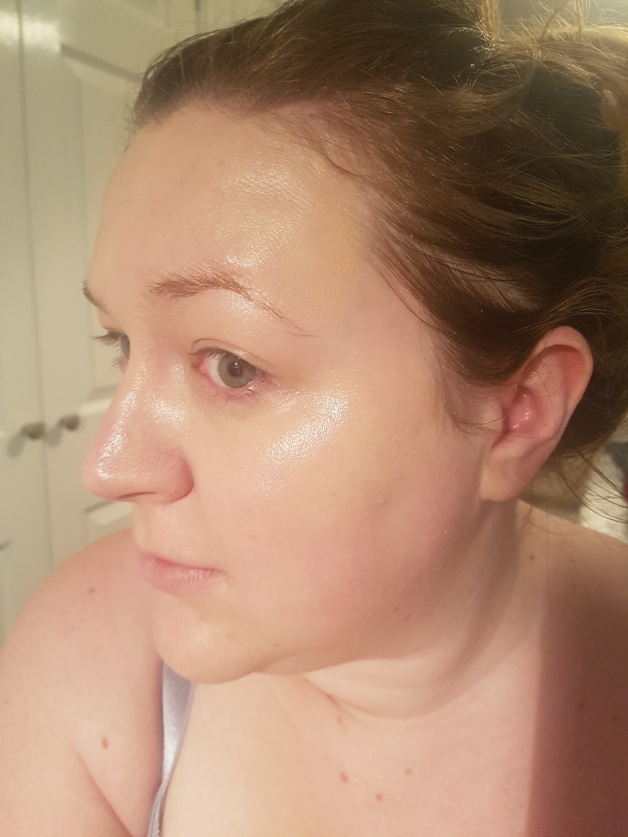
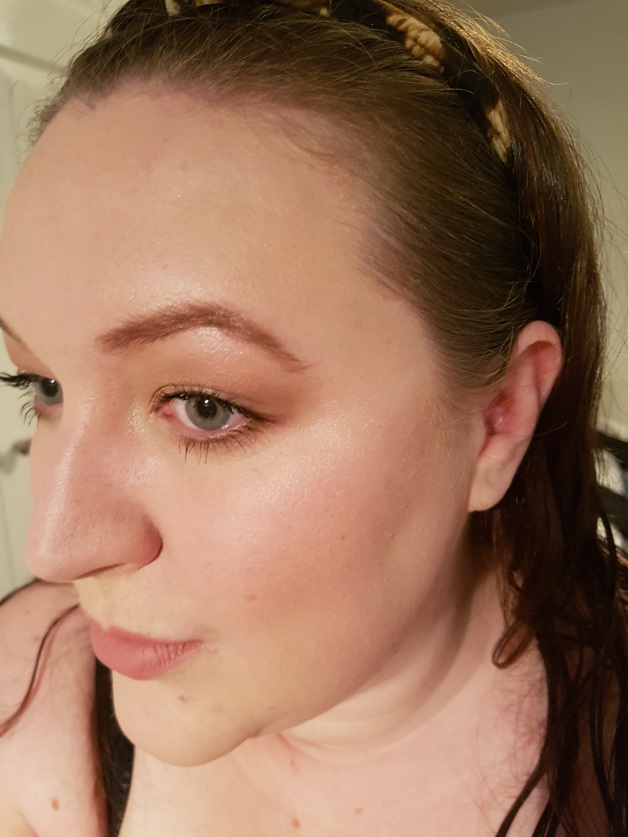
Colour Correcting Finishing Powder – £2.50
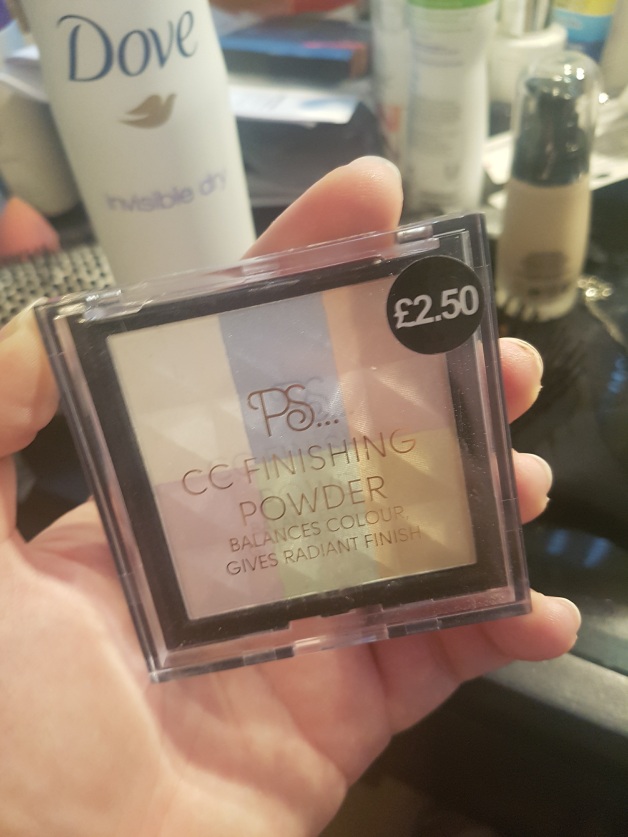
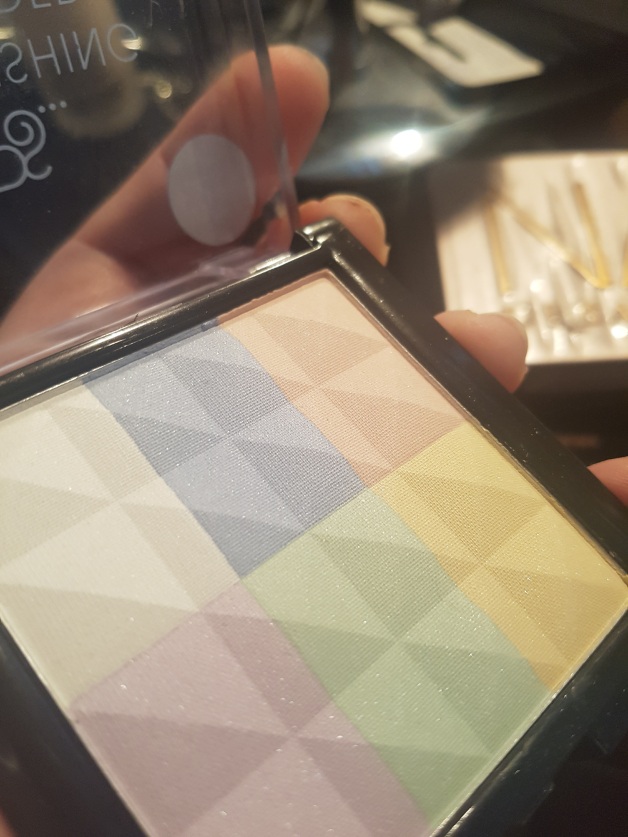
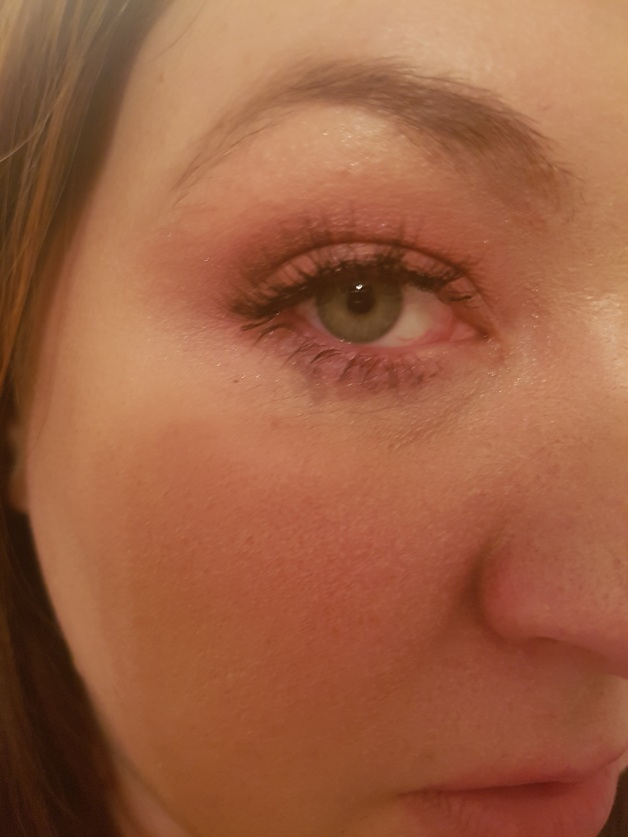
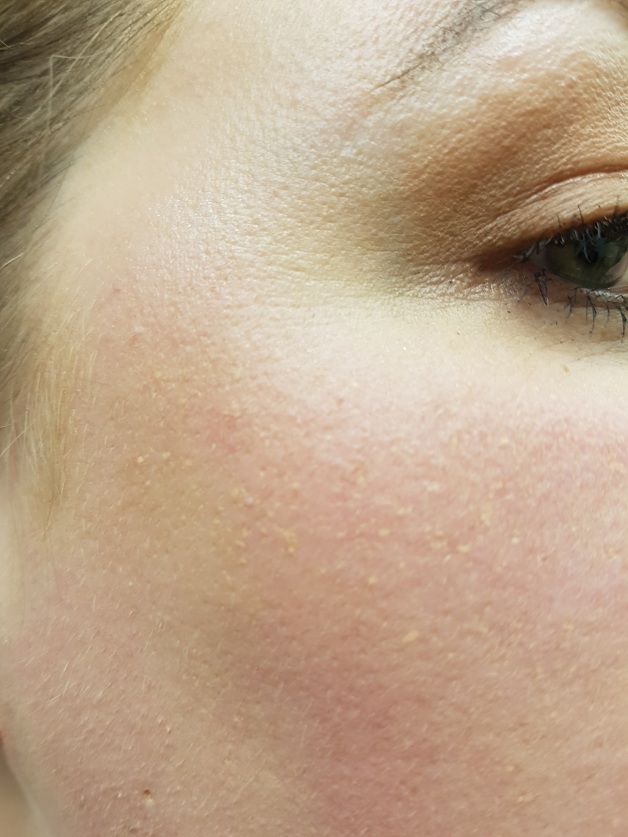
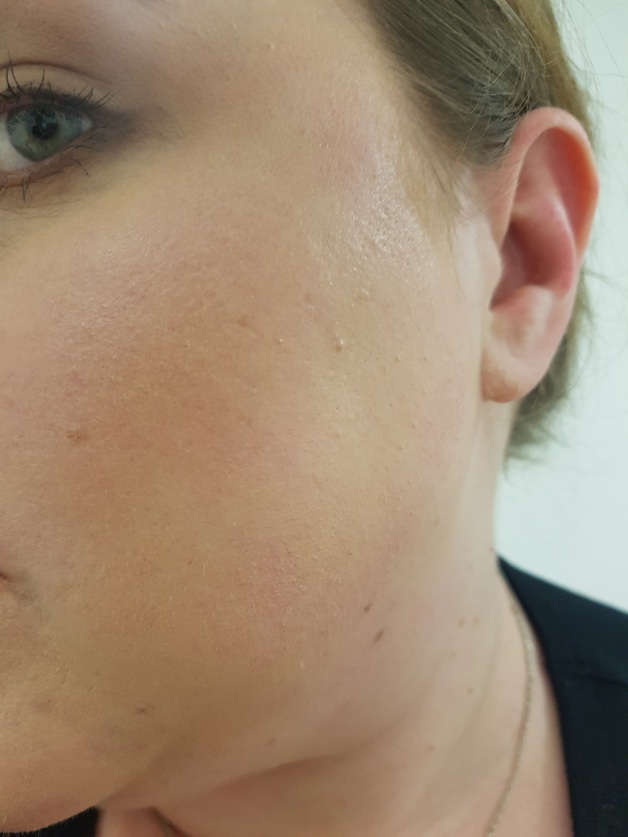
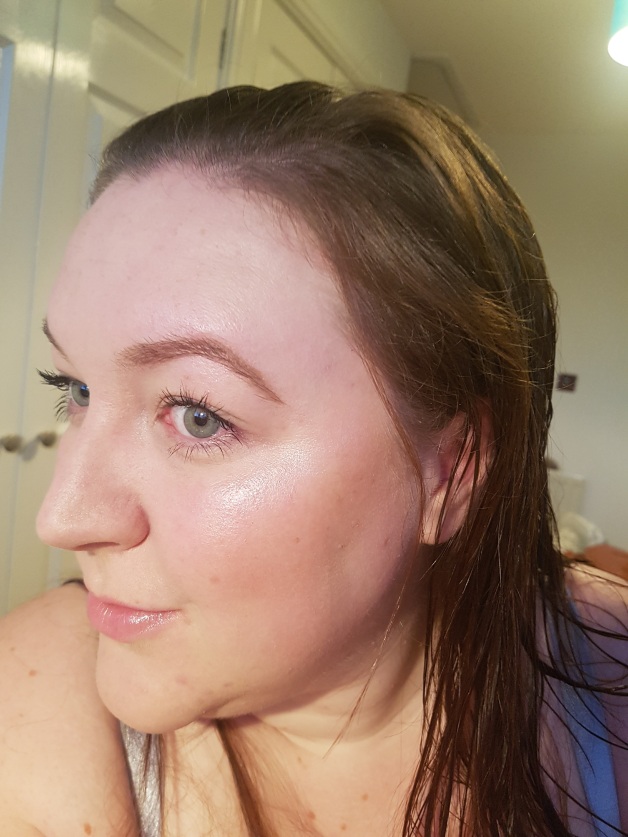
I chose this colour correcting powder as I thought it might help with my redness. However, what I didn’t notice is that this powder gives a ‘radiant’ finish (ie there’s glitter in it). Hopefully you can see the glitter in the close up picture. As an oily-skinned person, this is the LAST thing I want in a finishing powder.
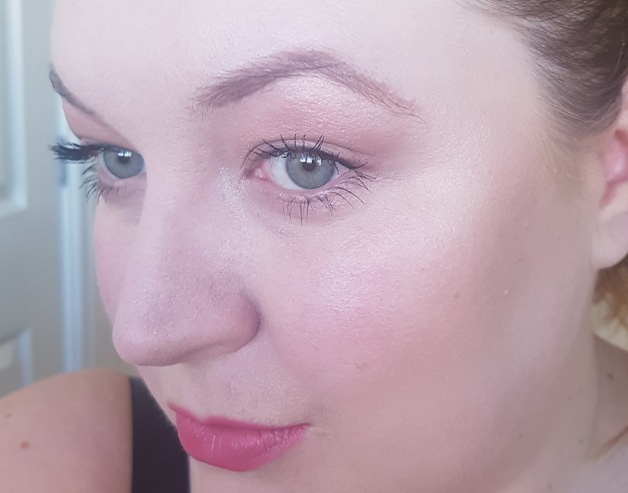
Here’s a close-up of my forehead, where hopefully you can see the sparkles where I wanted a nice matte finish.
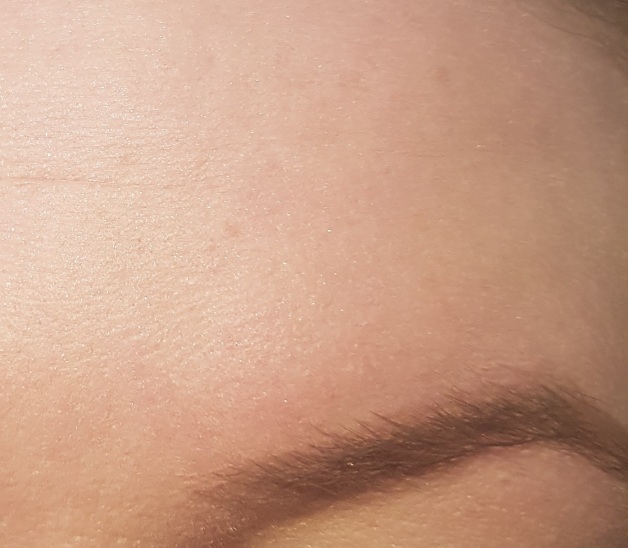
If you want to glow – this powder will be great for you, but frankly – I hated it! It didn’t mattify my makeup at all.
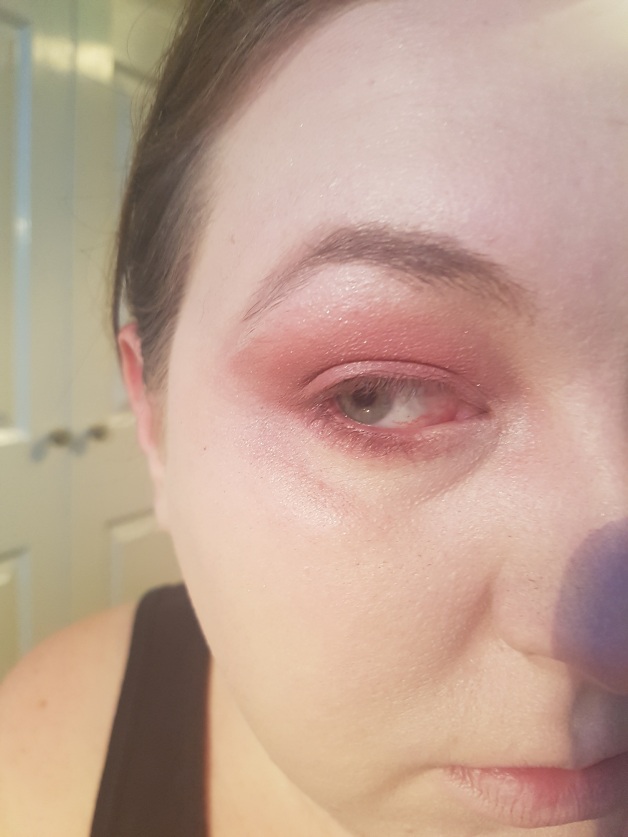
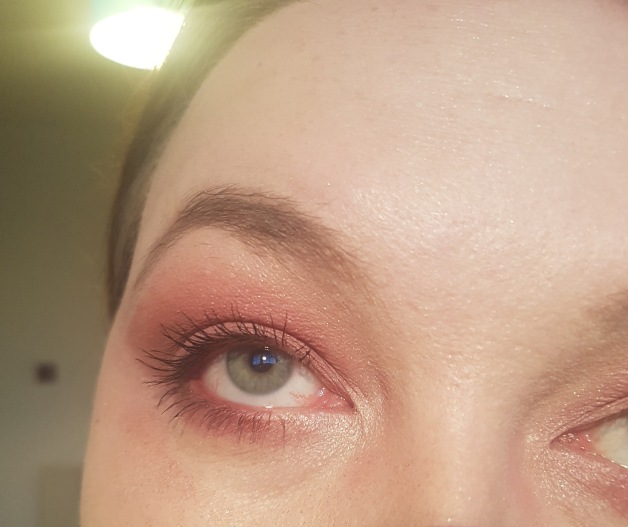
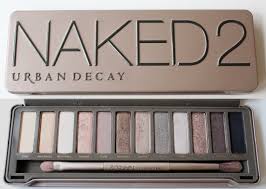
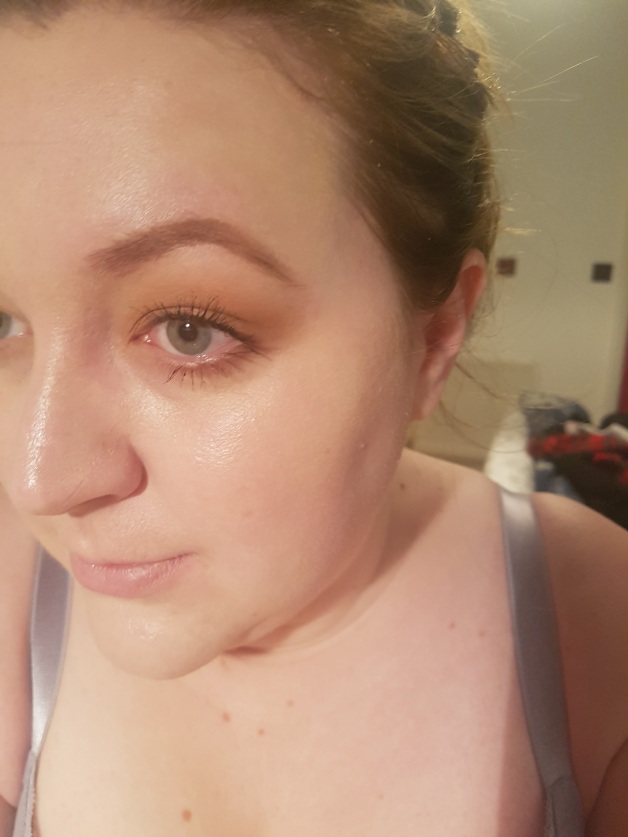
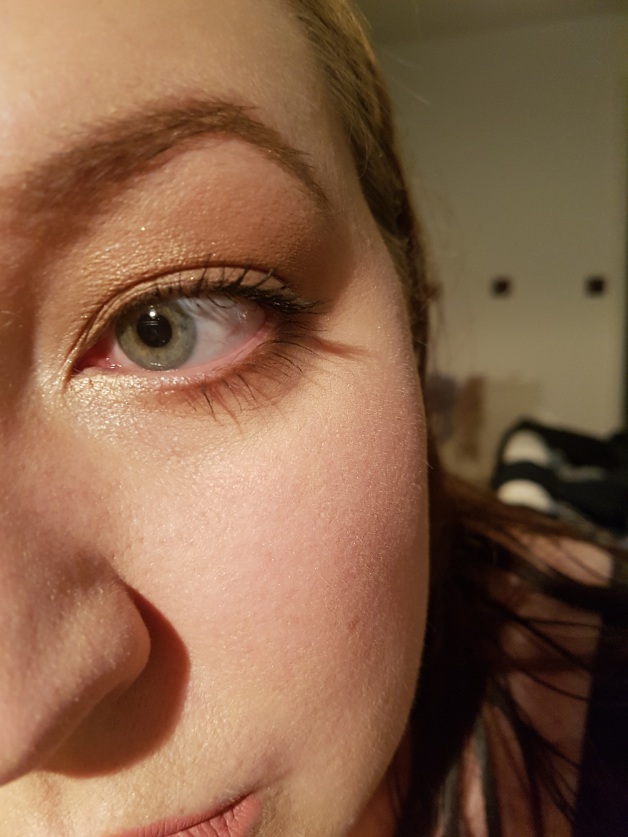
9 shadow eye palette – £2.50
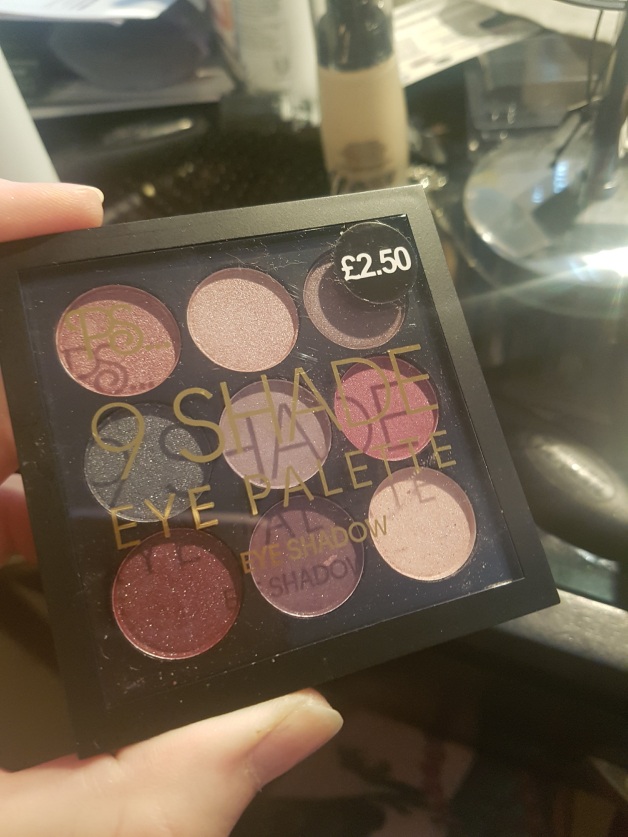
I chose this palette because it had some reddy-burgandy shades – exactly what I’d been looking for for Autumn. Unfortunately they only had the shades in shimmers, unlike the mattes I would have much preferred.
I wanted to build a look using the bottom right colour, the one just above it, and then the darker one in the bottom left, and finally the more brown colour in the top right. However, I had a few issues:
- These shadows were not very pigmented at all. To get colour payoff, I had to use a flat brush and in some cases, my finger.
- The red shadow at the end of the second row came out too lightly, so I had to use the bottom left shadow instead.
- The shadows were chalky and gave me a lot of fallout.
- My main advice here is to a) aim two shades darker to achieve the colour you want and b) you’ll have to work hard to get the pigment, but you can get there.
- PRO TIP – if you use these shadows, do your base afterwards! This is why…
Volumising mascara – £1
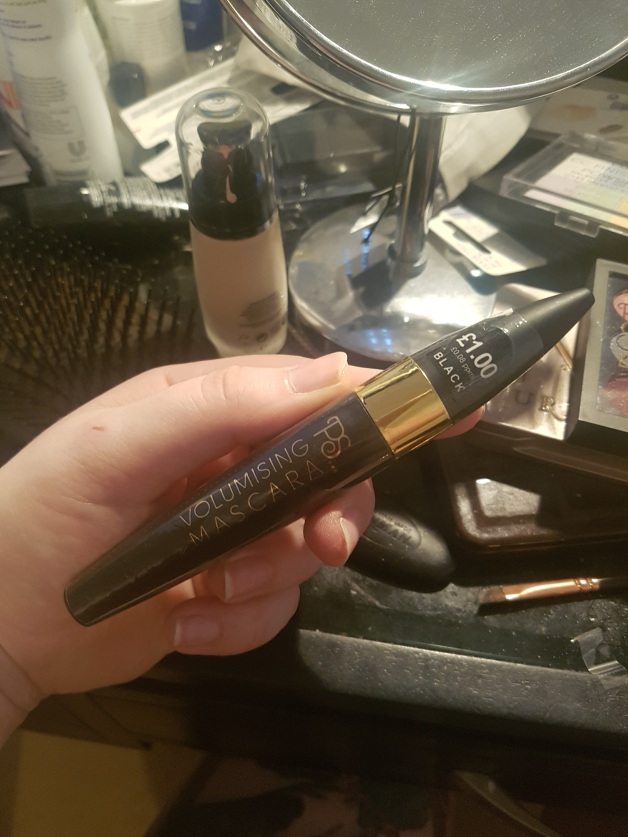
I started out by curling my lashes and applying a layer of this. Layer one was pretty weak and didn’t inspire me at all! Layer two made next-to-no difference, so I gave up on this pretty fast.
PS Contour Kit – £4

This one was a bit weird – I couldn’t see the colours before I bought it, and the ‘highlight’ shade here is much too brown, so I couldn’t use it. The packaging talks about ‘New Darker Shades’ – but I couldn’t find any other colour options in the shop.
I started by trying the contour shade. This shade isn’t bad – it’s fairly cool-toned and quite pigmented. This makes it a little tricky to work with – you need to be very light-handed with your brush and build up slowly.
The bronzer shade was a little darker than I usually go for and contained shimmer, which I don’t like. I’m all about a matte bronzer! But this actually looked okay on my face, which needed some warmth after the super-pale foundation.
And finally, to try and keep this test ‘true’, I also used the contour shade to fill my eyebrows.
Lip Crayon in red – £3
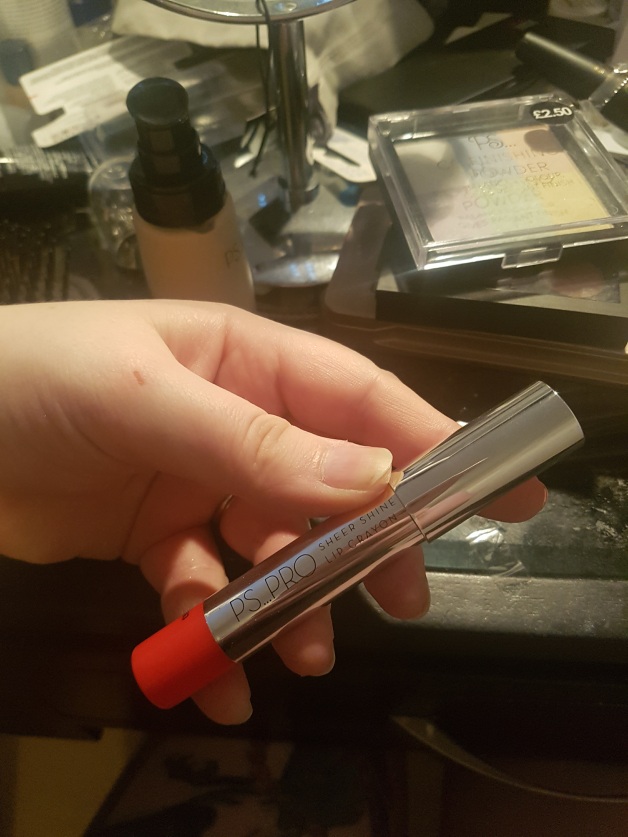
I splashed out on this red lip crayon as I liked the colour. I put it on my lips and then held up the crayon so you can see a rough colour comparison:

The lighting here really isn’t great – but I’d say this is quite a corally-red, and not the deeper red I was hoping for. This was VERY easy to apply due to it’s crayon shape, but no matter how much I layered it on, the pigment never really built up and was a little patchy.
Some cheeky extras…
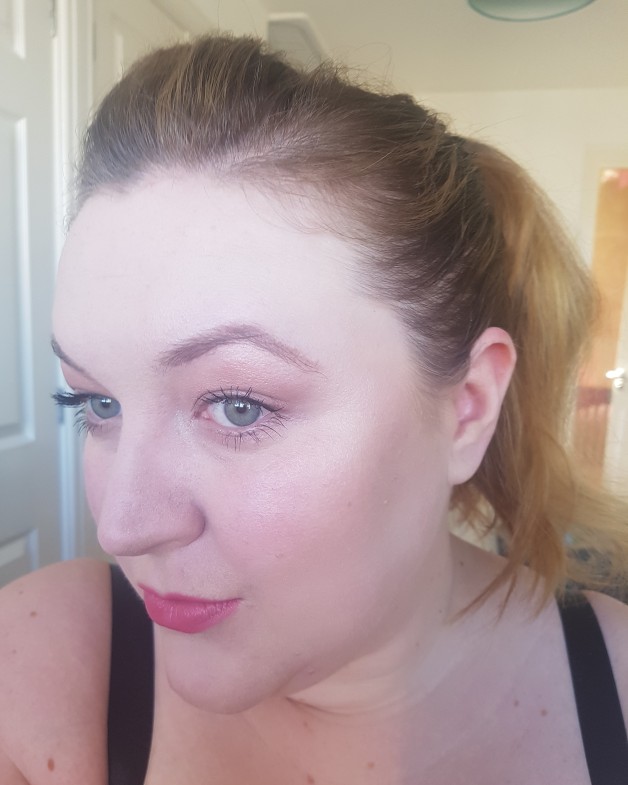
At this point, I felt like something was missing. I was heading out for dinner with my lovely husband and I wanted to feel pretty. So I reached for some of these, which are NOT from Primark…
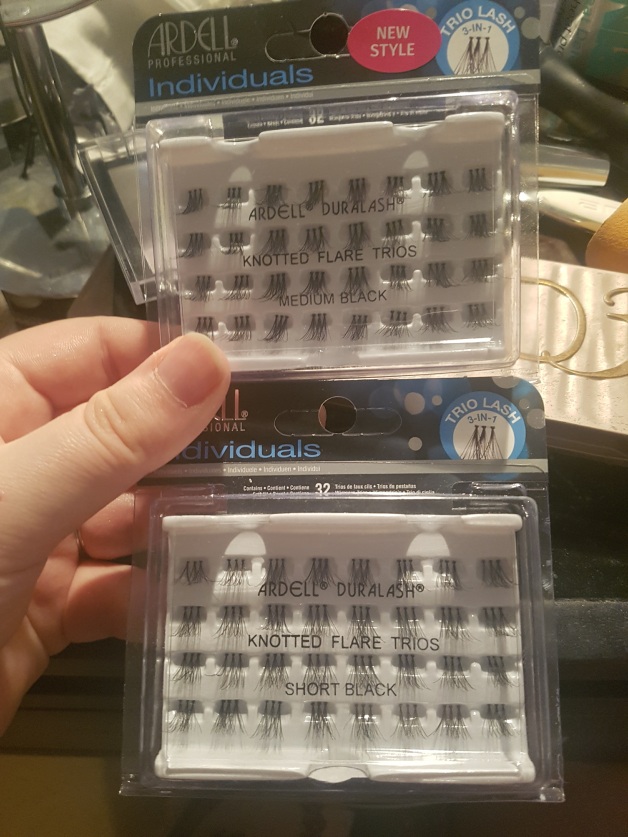
These are short and medium Ardell individual lashes (BTW I get all my lashes from falseeyelashes.co.uk – their prices are really good and delivery is very fast) – except you get three-in-one. I’ve never managed to get the hang of individual lashes, but these are much much easier. I loved the final look!
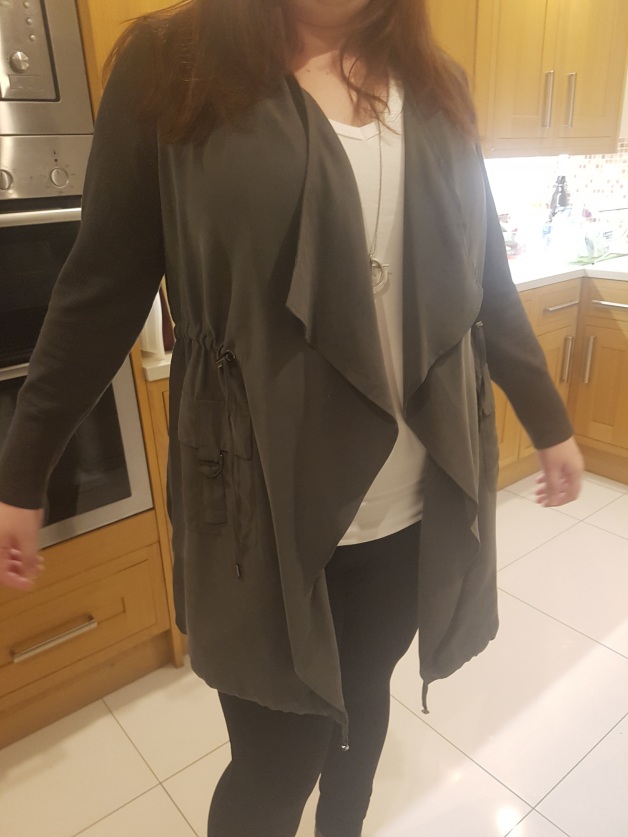
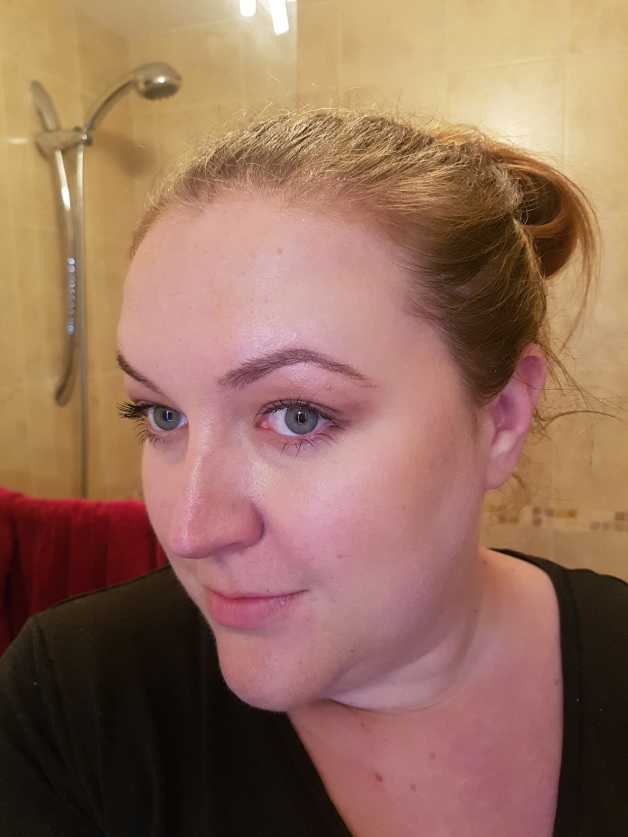
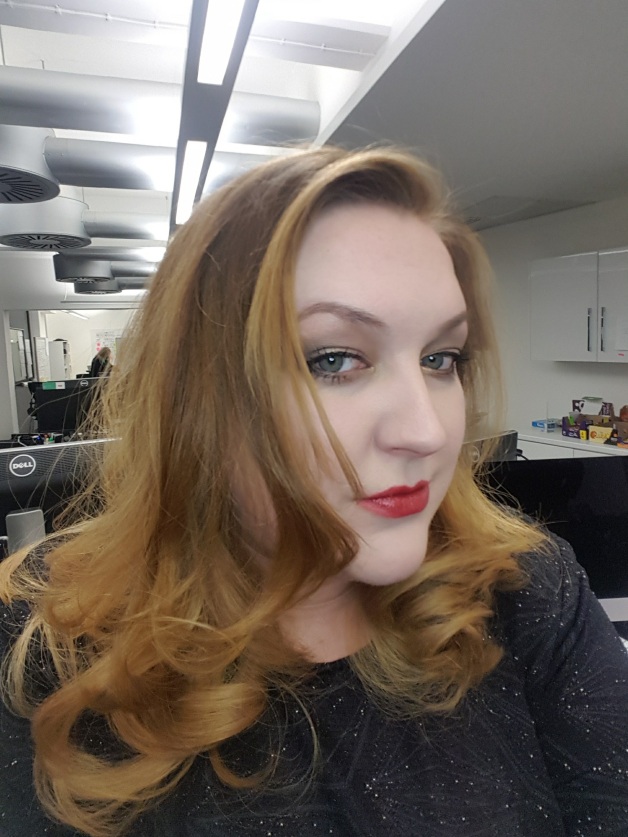
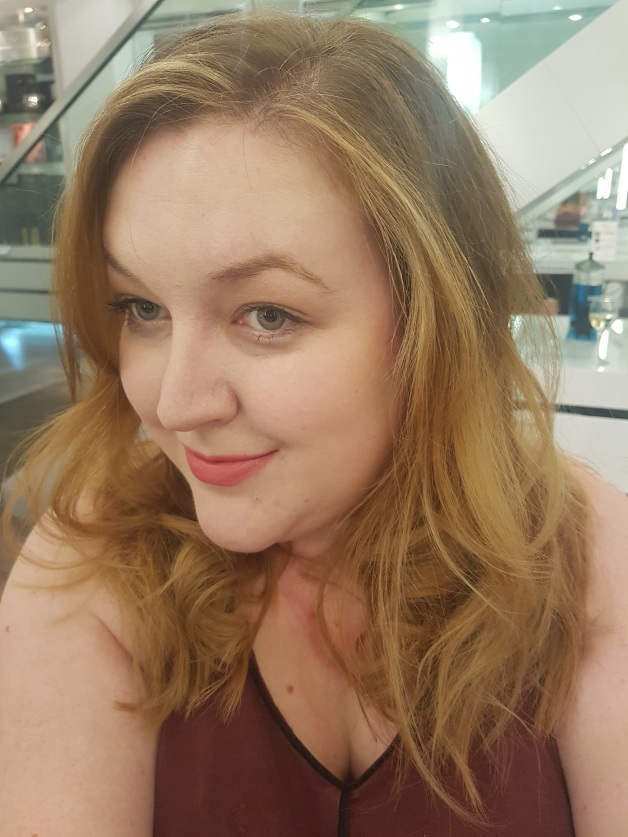
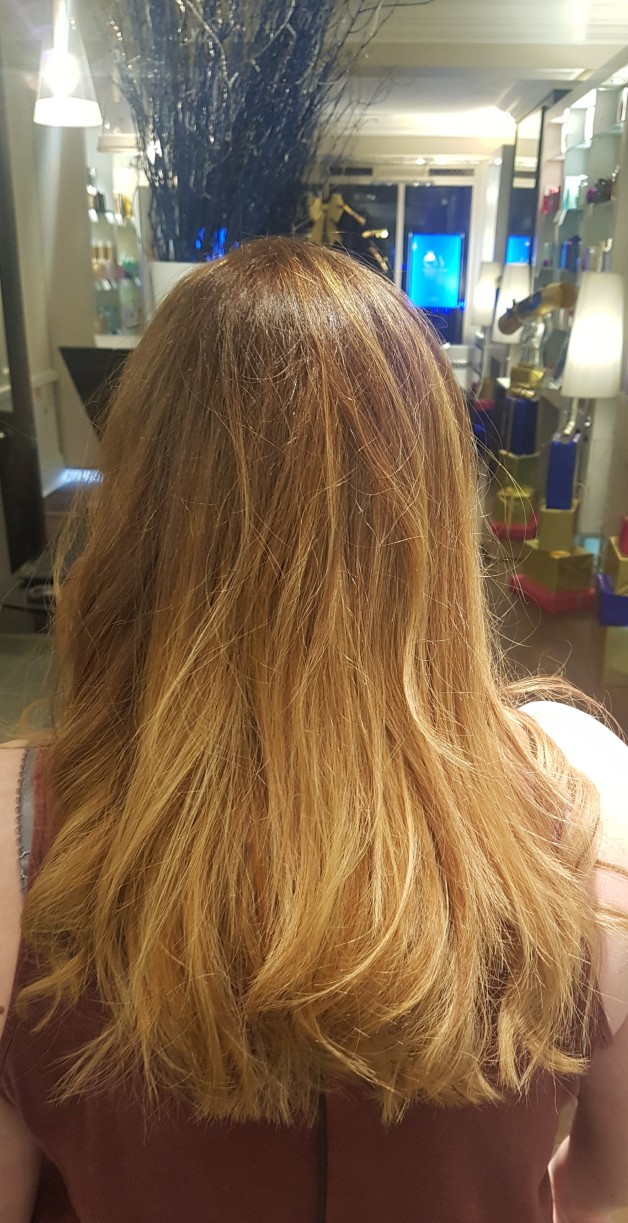
With some blowdrying and straightening of my hair and a new waterfall cardigan-type thing, I was finally ready for our date!

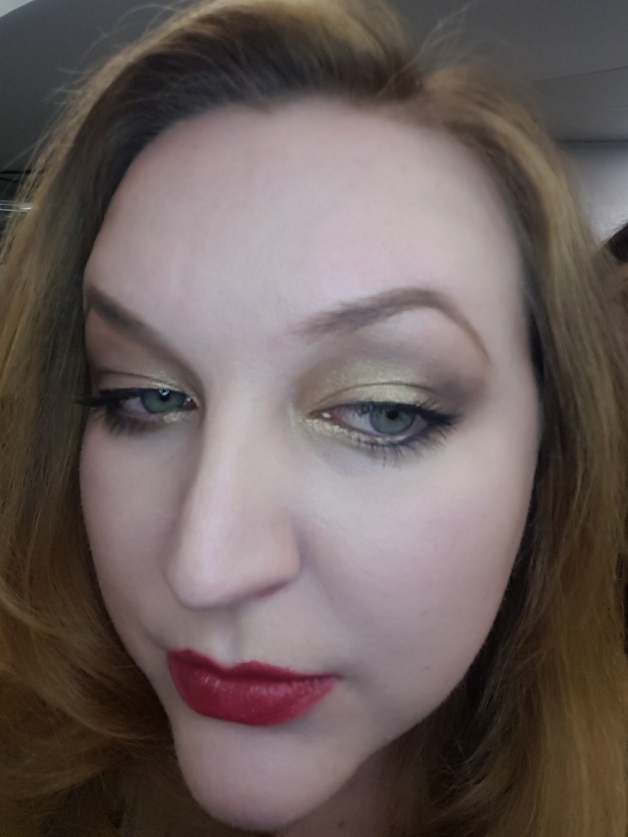
Before we headed out…
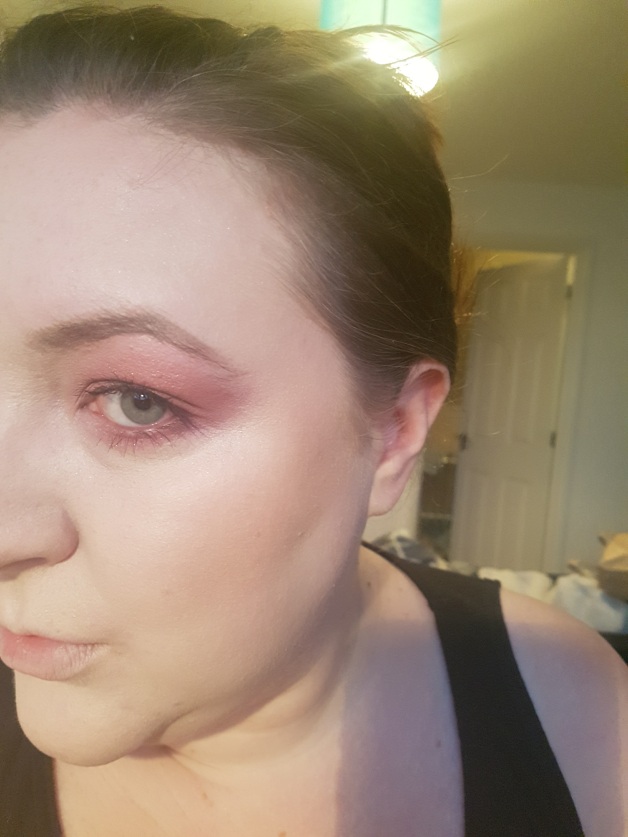
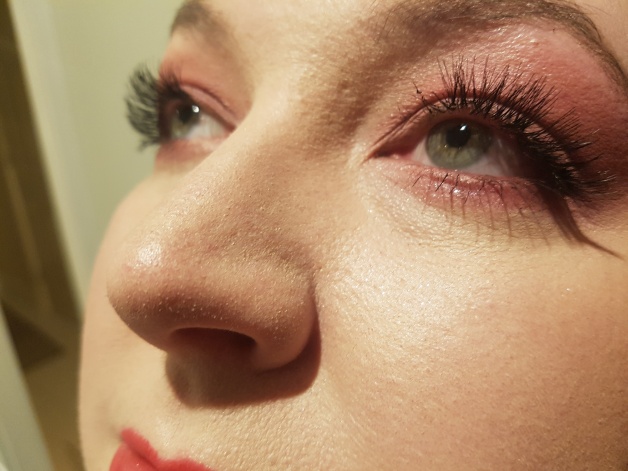
So there I was, thinking I looked pretty bomb and feeling super-impressed with the Primark foundation, when I got down to the kitchen and checked a different mirror in different lighting. It was at this point I realised that a) my nose looked a HOT MESS and b) my foundation was looking thick-as-shit where I’d had to layer over the eyeshadow fallout. Yuck.
Our date
We had a wonderful evening meal at a super-cosy pub in Biddenden called ‘The Three Chimneys‘.
Evening check-in
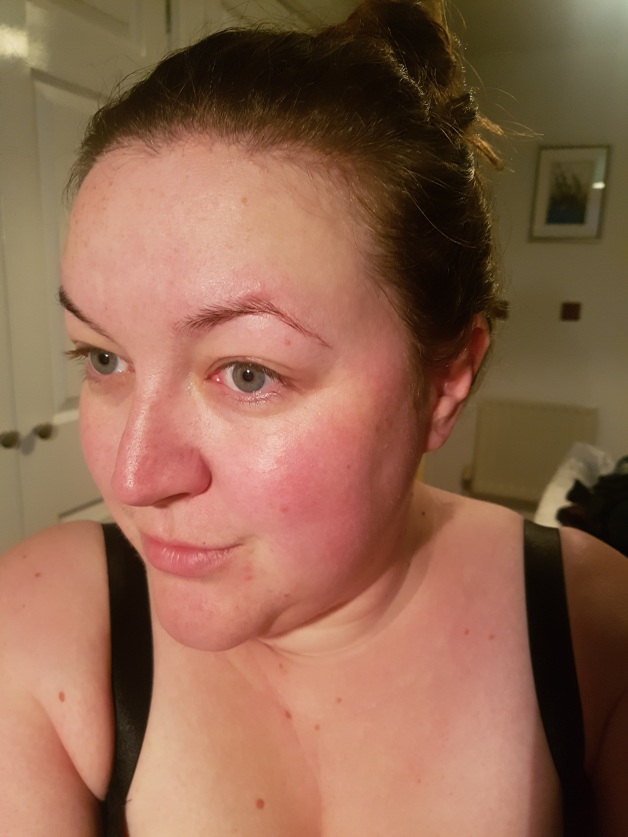
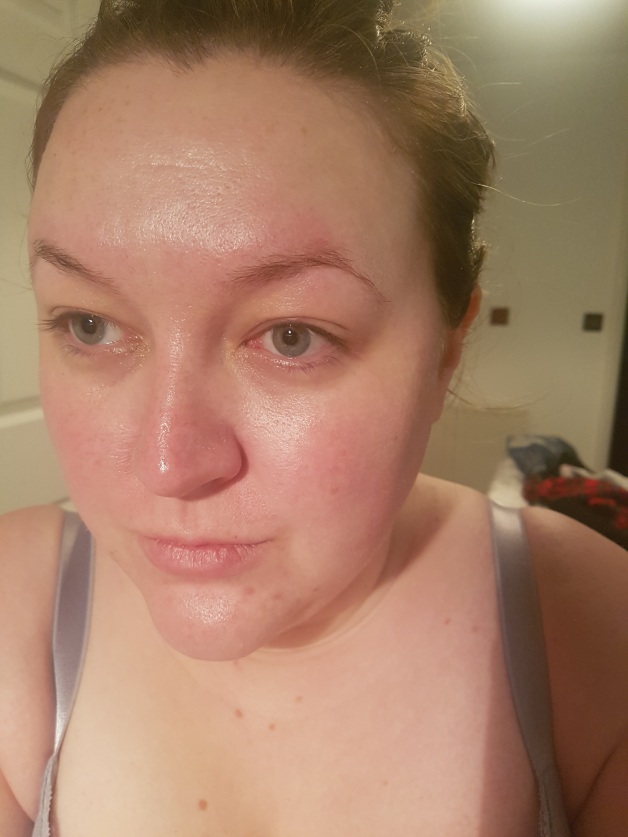
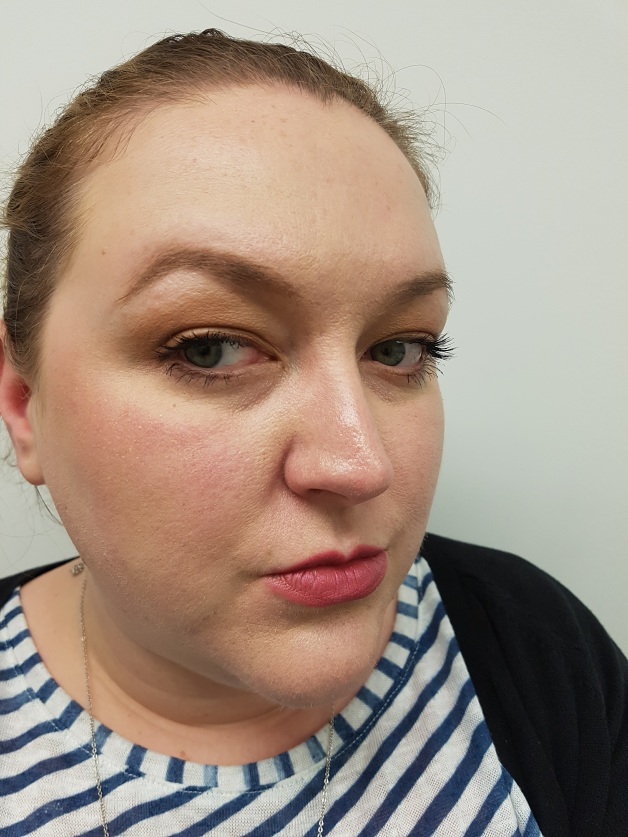
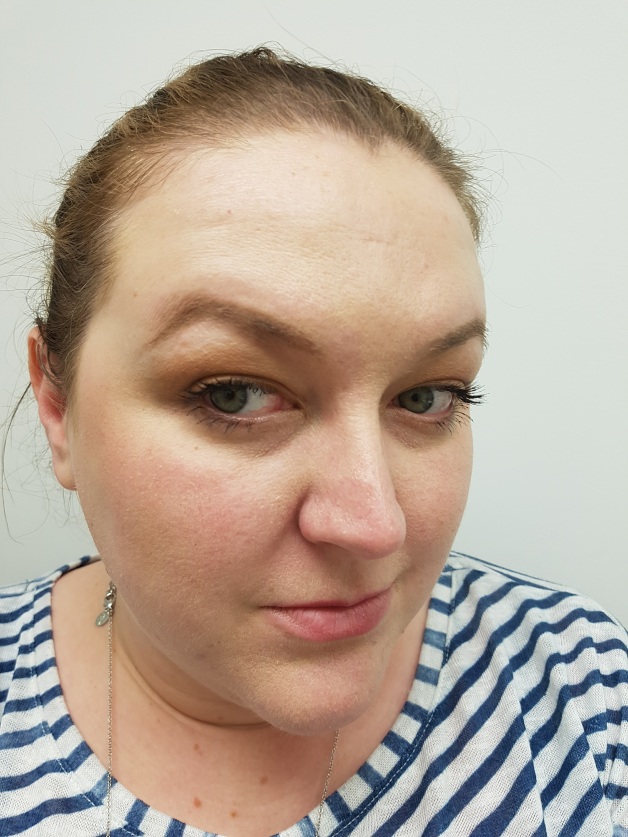
After getting home from our evening meal, having been wearing the makeup for almost 6 hours, I did a quick check-in.
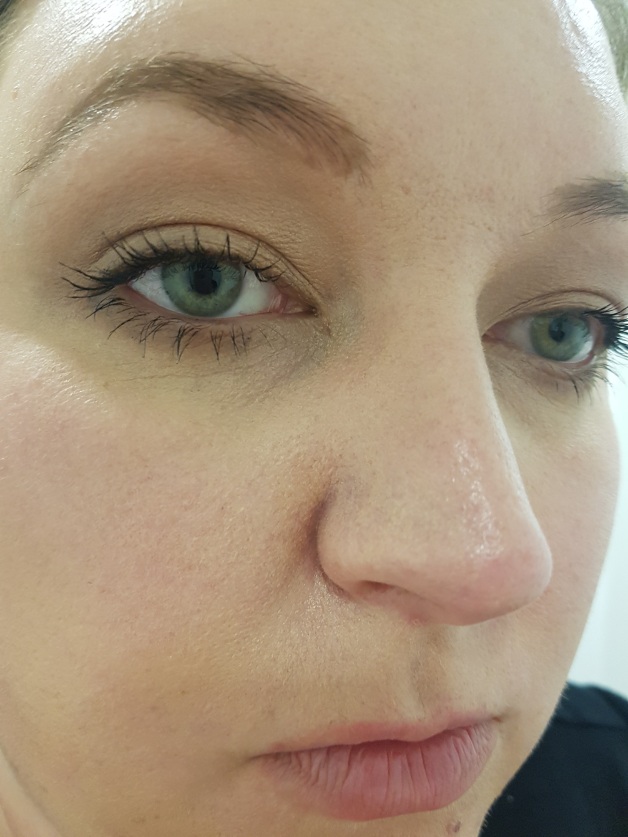
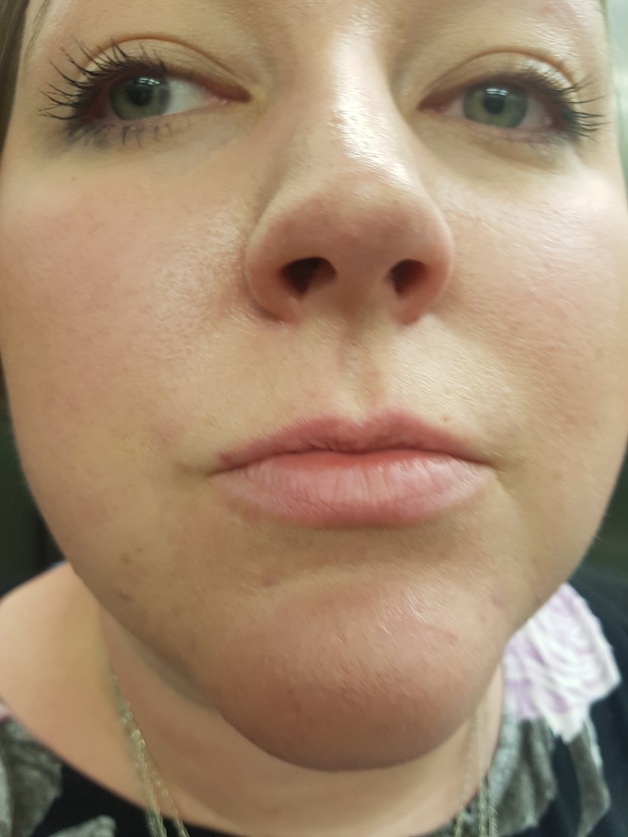
I think you can see there’s a lot of smudging and creasing under my eyes, and the foundation has broken up quite a lot around my nose and given me the dreaded ‘dotty pore’ effect. My nose is unspeakably bad – the makeup here is coming off and where it remains, it looks cakey and horrible.
My lipstick has obviously come off but that’s totally fair enough, as I was eating and drinking all night!
My conclusion
For a quick recap – I’d say that this Primark makeup generally wasn’t awful. If you’re prepared to put in the work, you can get some decent payoff.
- Foundation – for £5, this isn’t far off the price of some of the cheaper high-street foundations, like my current favourite L’Oreal Infallible foundation. For the extra £3, I’d say go for the really cracking foundation. However – the Primark one had such amazing coverage, I decided not to give up and tried it again the next day. I’ll post a follow up soon!
- Colour correcting finishing powder – I hated this powder with a passion, as it did everything I didn’t want (ie made me shimmery and glowing). The foundation already had a pretty luminous finish, so I didn’t need this. If you like a very luminescent finish, you might love it!
- 9 eyeshadow palette – this one was pretty average. Thankfully for me, the shimmer didn’t show through too much, so these aren’t overly glittery. I had to work very hard for colour pay-off, which resulted in lots of fall-out. But they are SO cheap, you could say they’re good value.
- Volumising mascara – again I really didn’t like this one. It was next to pointless, and as mascara is so critical for any makeup look, I would recommend splashing out the £8 for Maybelline’s Lash Sensational.
- 3 shade contour kit – for £4 this is pretty good value. The contour and bronzer are both totally useable, but if you’re pale like me, build up slowly to avoid looking muddy. The highlighter was basically unusable.
- Red lipstick crayon – this was easy to apply but didn’t have great colour pay-off. Again, I would turn to Rimmel for a great range of affordable, decent lipsticks before buying this again.
I would LOVE to hear what you guys think of Primark makeup, and if any particular products have wormed their way into your makeup kit. Let me know in the comments below!


 So – this time, the finish was much better – in so much as it wasn’t super-dewy and ‘wet’ looking. The coverage was still pretty low and, as suspected, the constant buffing motion made my skin warm and red, making it basically impossible to cover with the foundation. This is one of the reasons I stopped using Bare Minerals powder foundation! It also caused some micro-exfoliation around my nose, which made my nose look extra dry and textured.

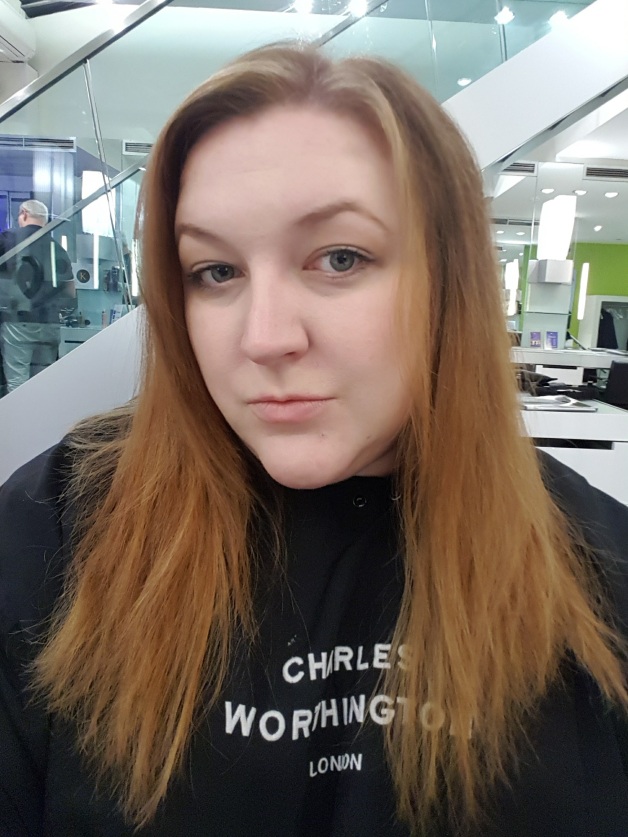


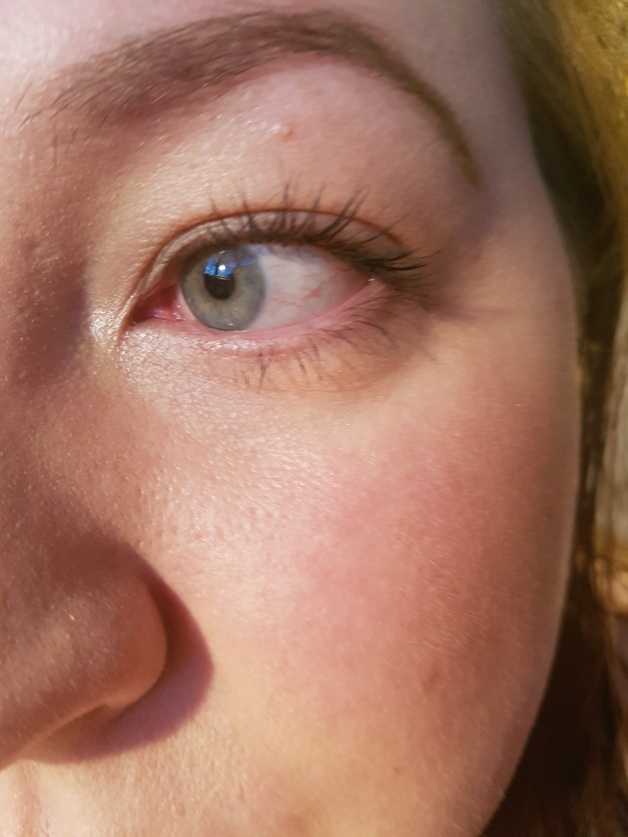
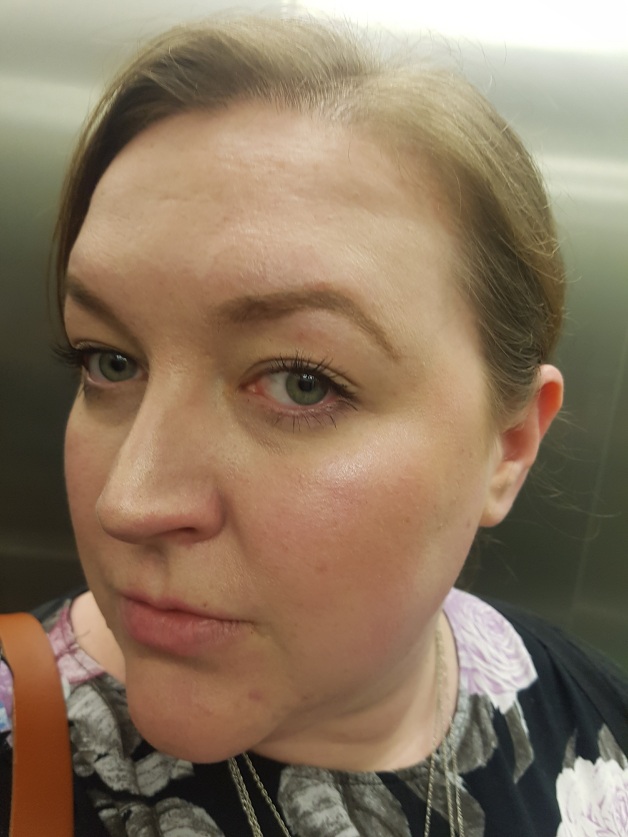
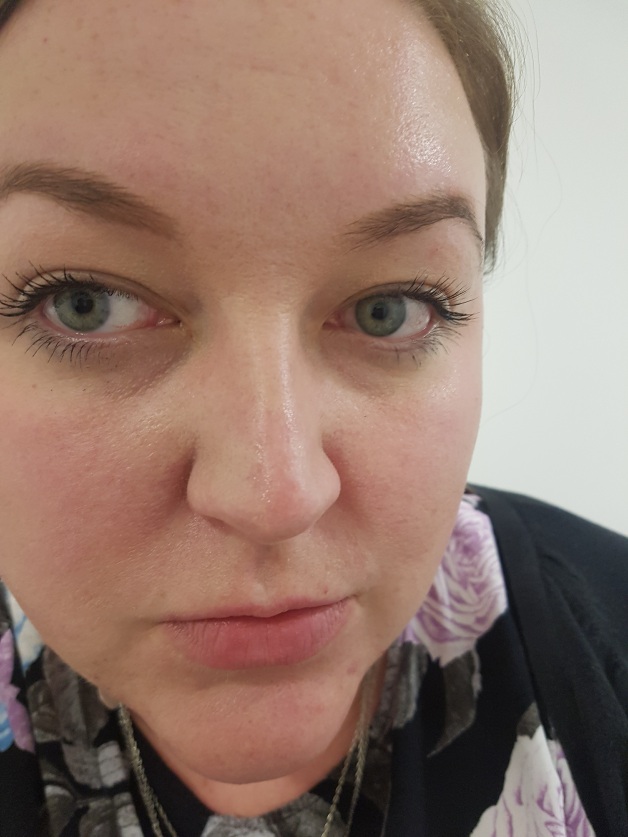
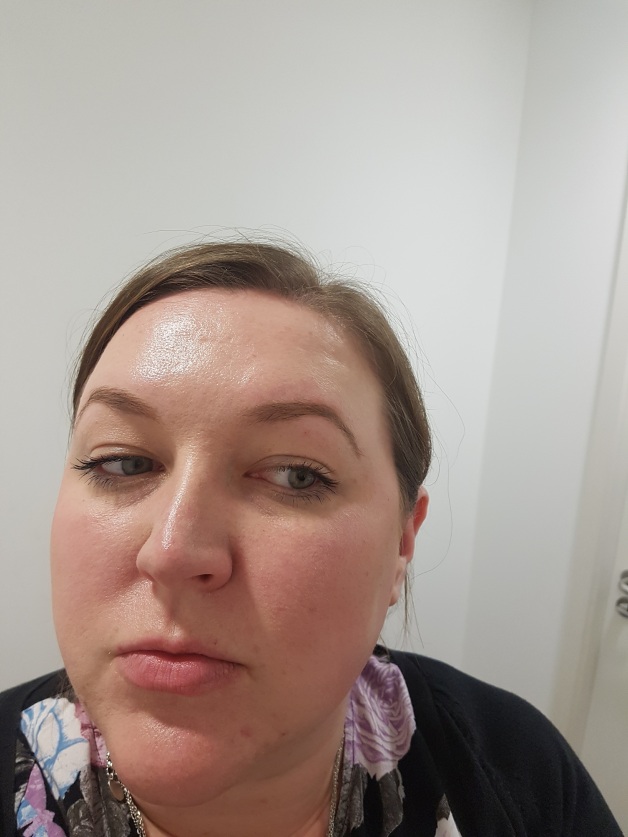
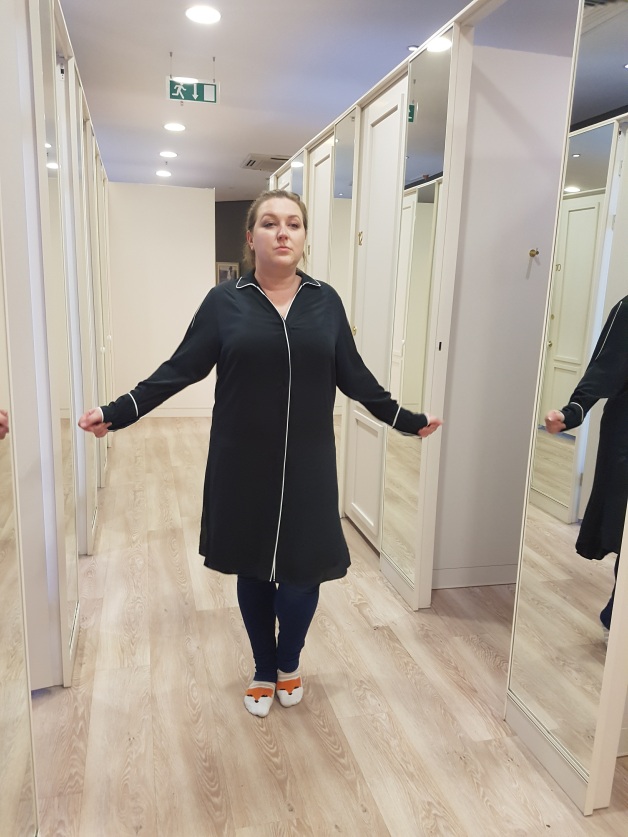
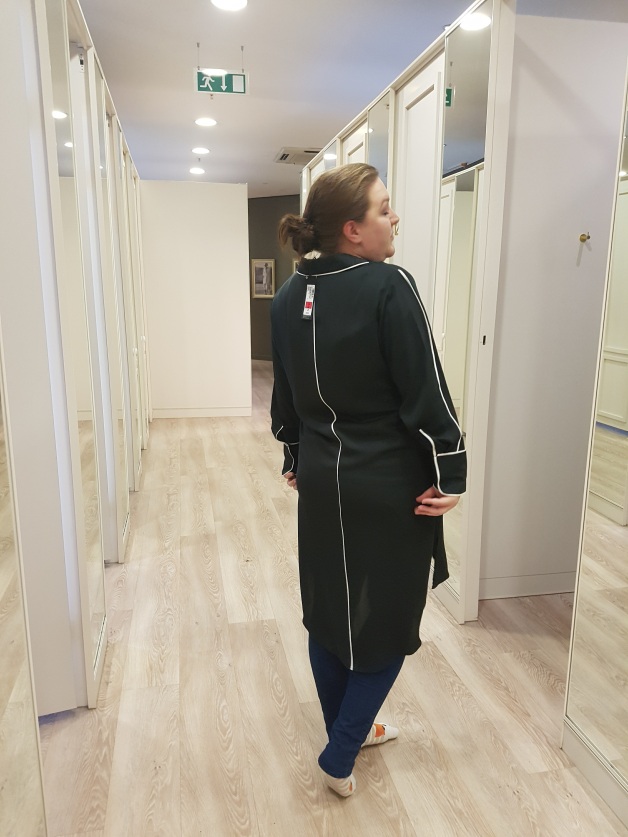
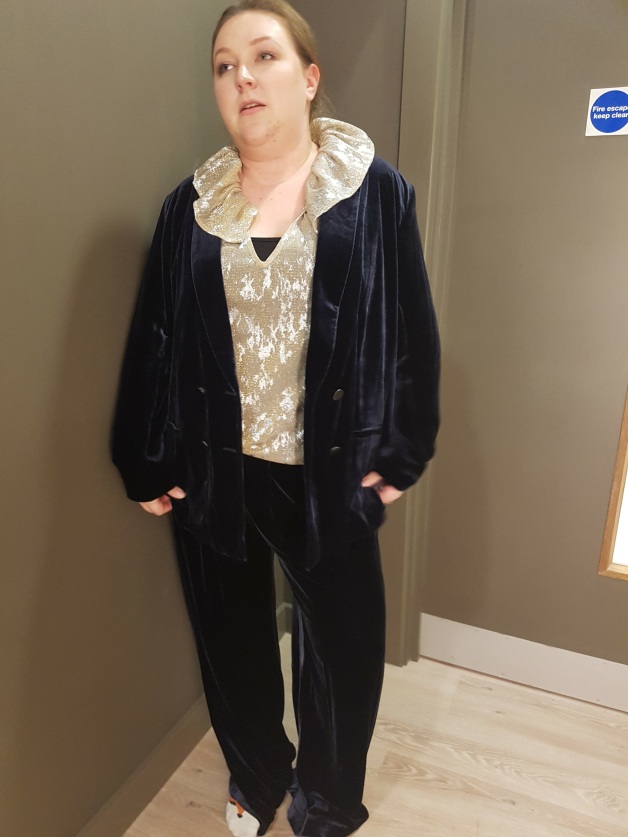
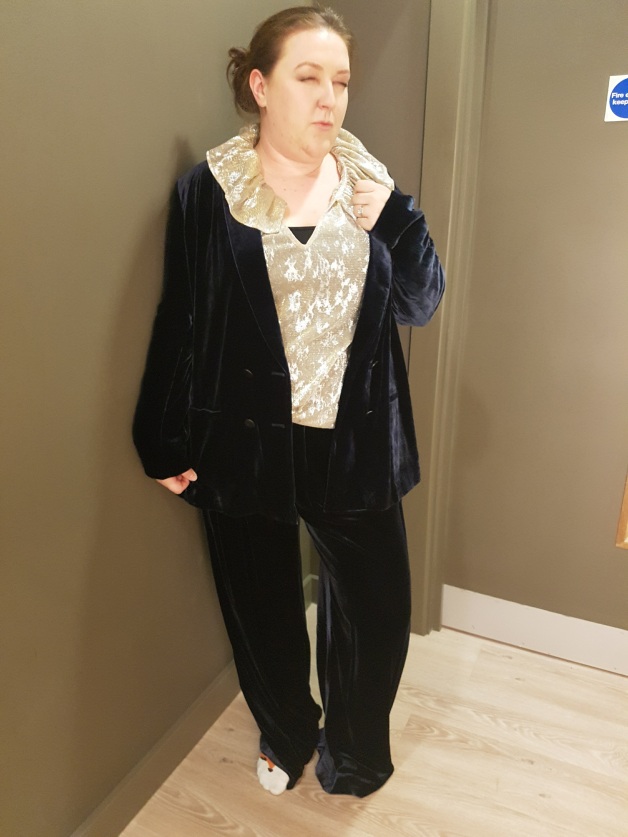
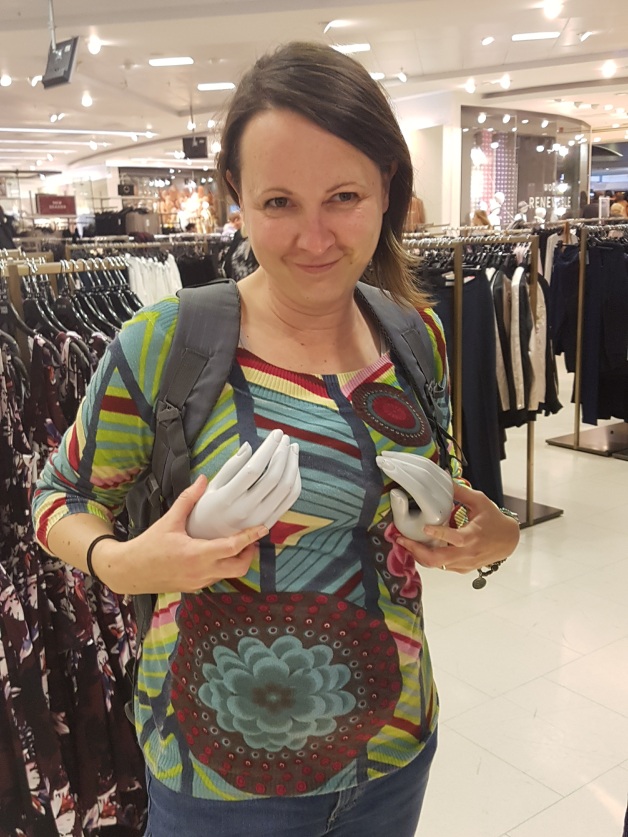
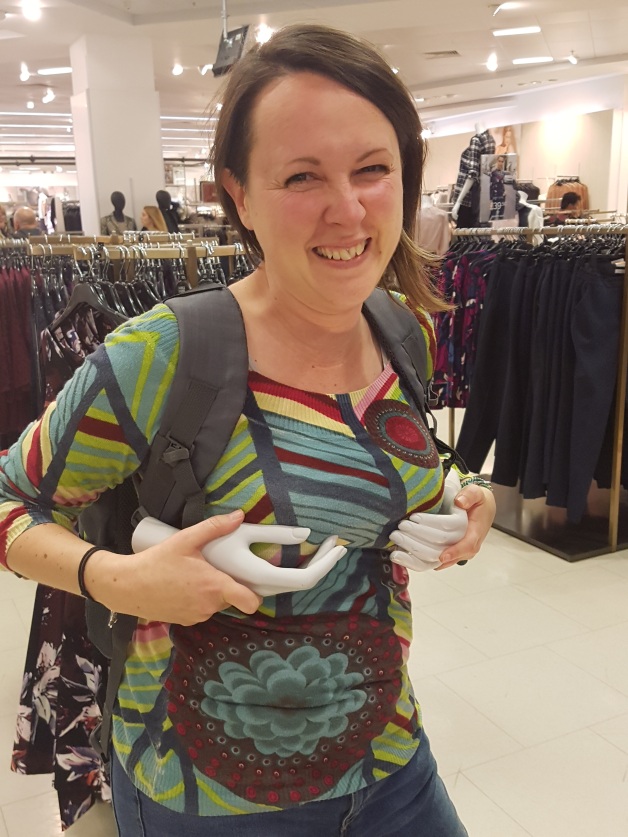
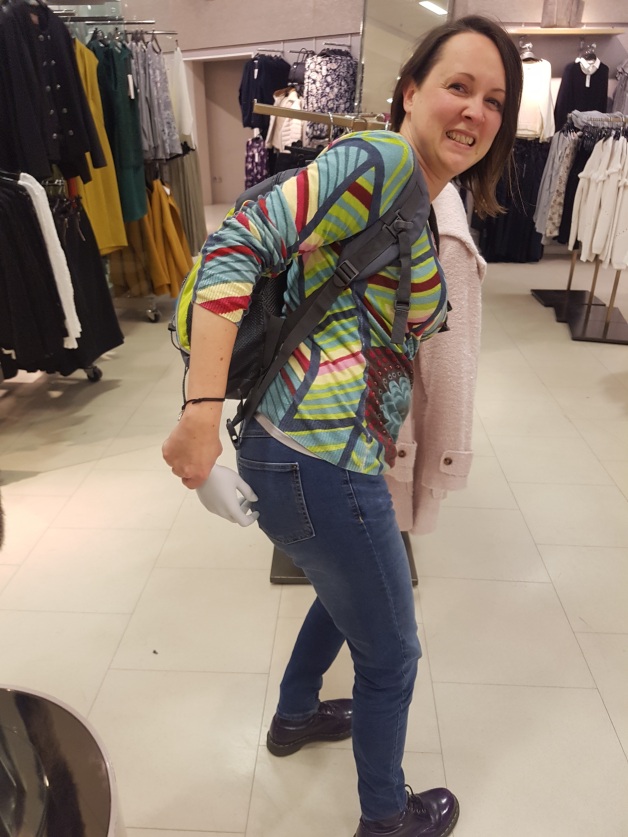
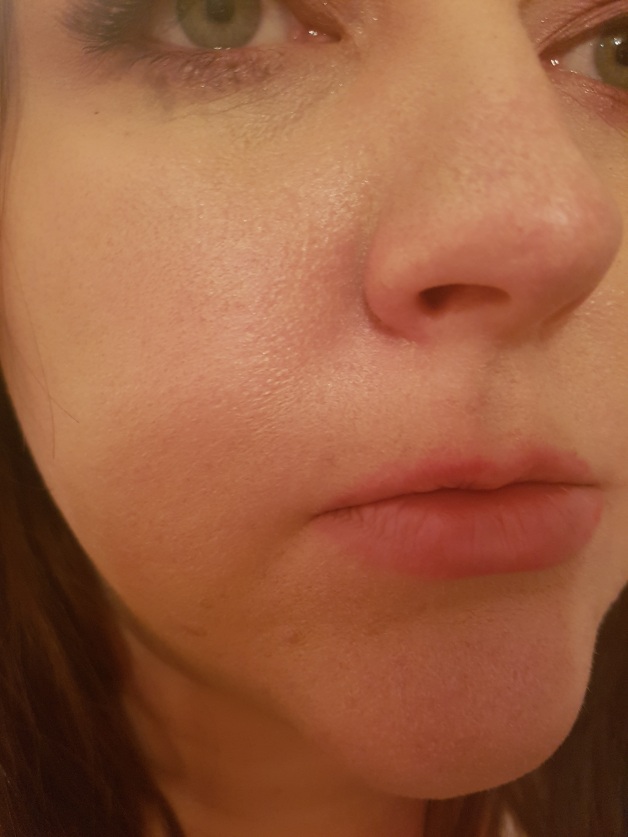
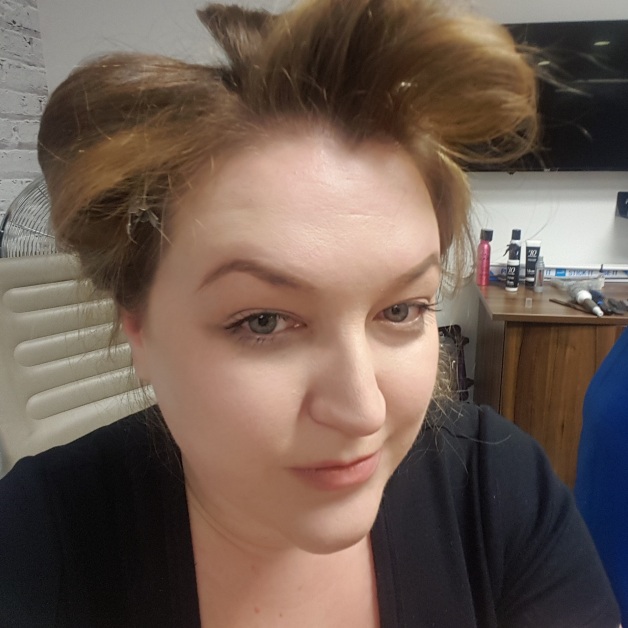
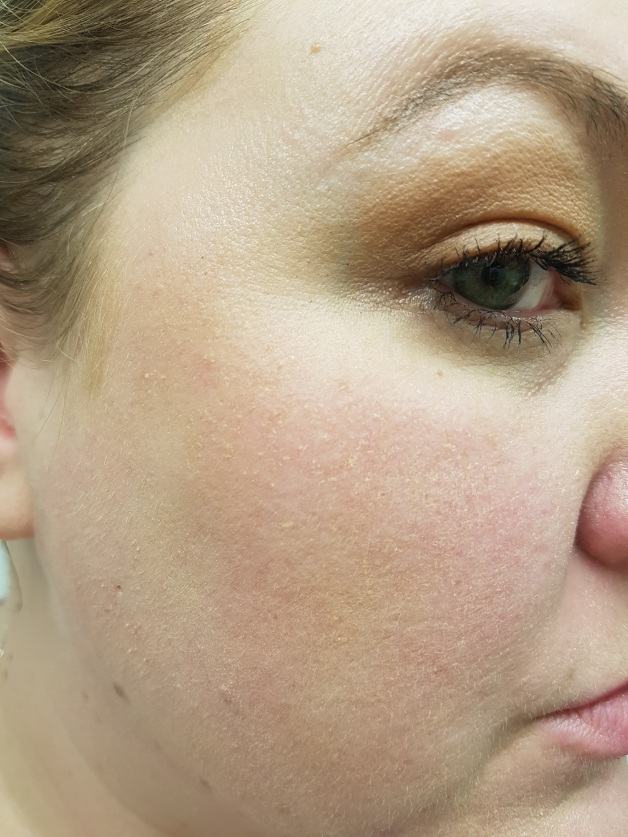
 It’s lunchtime and I’ve had to settle for a couple of quick snaps in the lift. And I’ve just realised I look super crazy in that second one – like my eyes are looking in different directions.